Saturday, July 3, 2010

Homemade Bagels


Last night I found a recipe for Easy homemade Bagels. I was intrigued and excited to try it out. After reading other recipes and watching a few videos I felt like the Easy Bagel recipe was missing a few things. It's a Recipezaar recipe with no ratings and at least one missed ingredient. It says to add salt but there is no measurement for the salt. So...I took part of the Easy Bagel recipe, part of about 3 videos, one how-to article from Allrecipes.com and a few other recipes and made my own. After tasting them I would say I added too much salt and I would change my method for adding toppings to the bagels in the future.  But it was fun, not very difficult at all, and cost me ...maybe a buck? Not more than $2.

Here's what I did.

Dissolve a tbsp of brown sugar into 1.5 cups of lukewarm water. Sprinkle 1 tbsp of yeast on top of the water. Let it sit that way about 5mins. Hint: If you freeze your yeast you should let it sit out about 10mins to get to room temperature before using it.

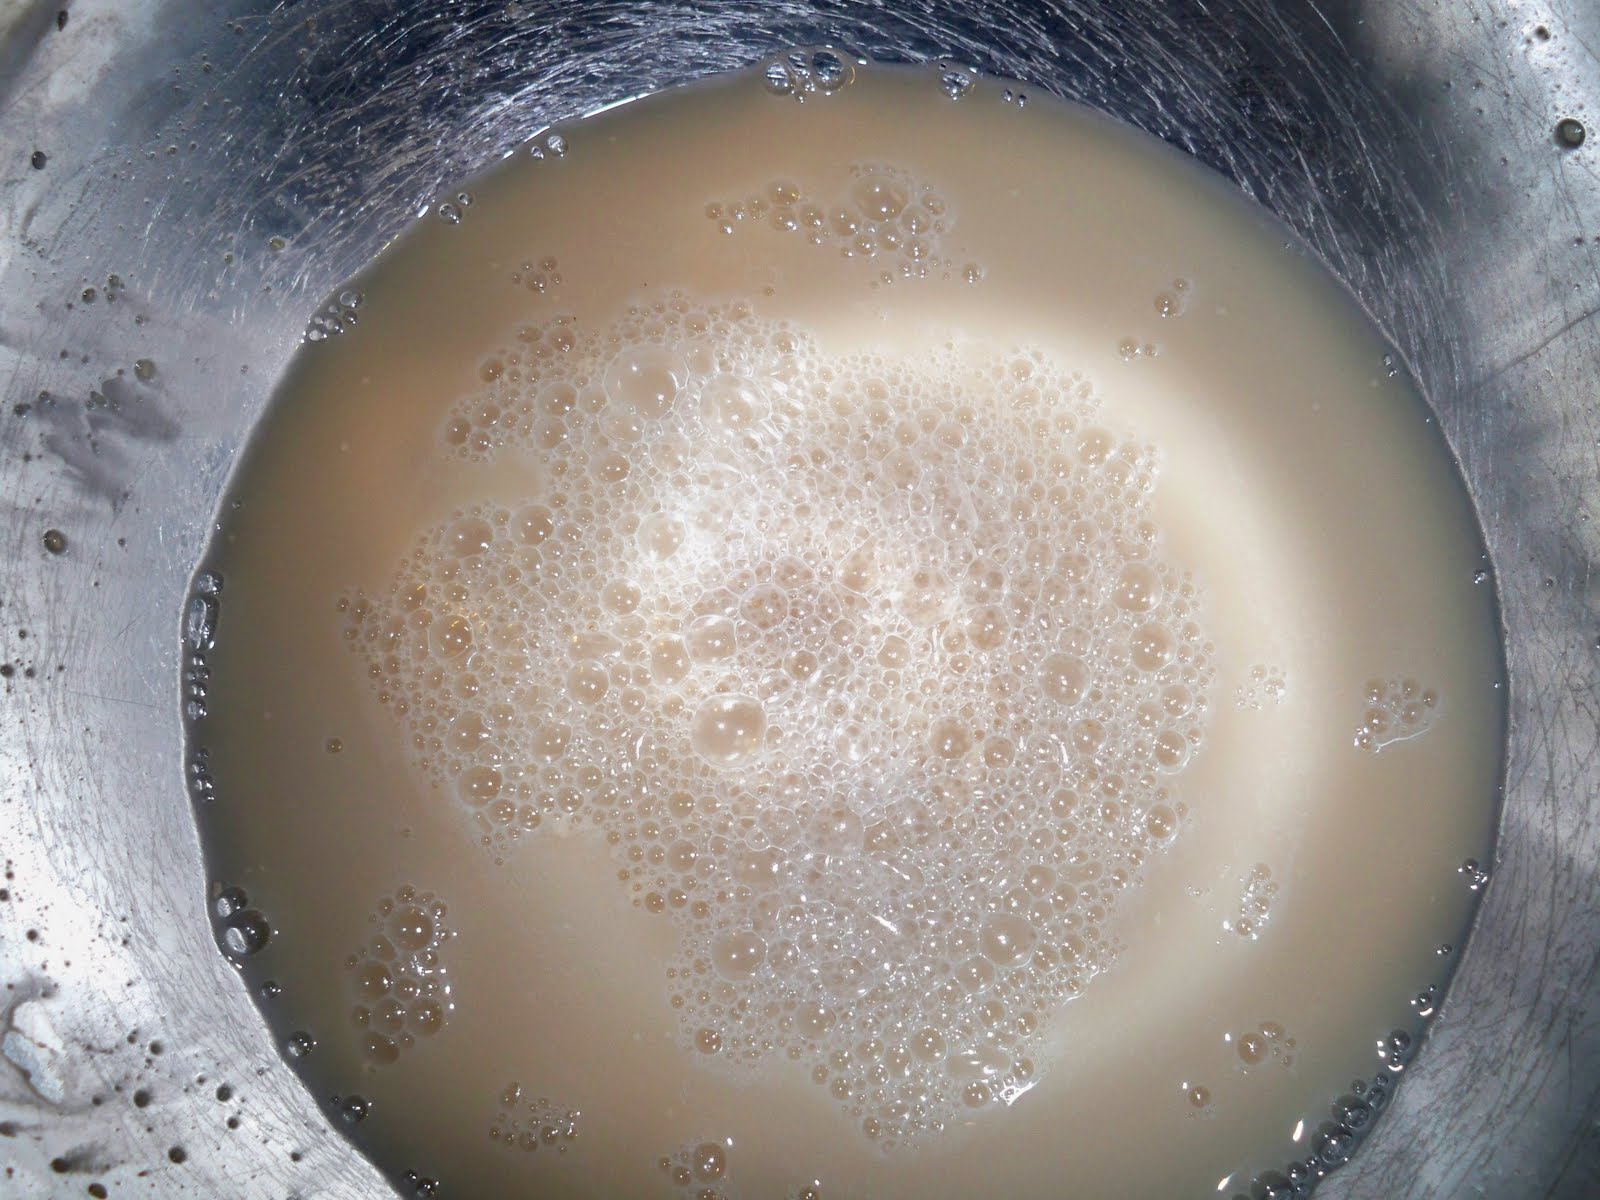


Then whisk. Add 1 tbsp vegetable oil and 1/2 tbsp salt. 


Mix 4cups flour into yeast mixture one cup at a time. Dump onto counter to incorporate up to one more cup of flour until dough is ready. (A total of 4-5cups flour). Hint: As you kneed push more flour to the sides of the dough and keep folding and pushing until you get the desired consistency.


 It shouldn't be very sticky and when pulled it shouldn't easily tear. Here's what it will look like, notice most of the last cup of flour has incorporated into the dough:


Cover with a towel and let dough rise about 40mins. 

Towards the end of your rest time prepare to continue: Preheat oven to 450F. Bring a large pot (I used a stock pot) of water to a boil on the stove. Set out bowls of whatever toppings you would like to use. I used Kosher salt on half and cinnamon sugar on half. Prepare a baking sheet by sprinkling it with corn meal.


Punch air out of dough. Punch down and kneed about 8-10times. 


Divide dough into 12 pieces about the same size. Hint: Best way to do this is to divide the dough in half twice creating 4 equal pieces and then divide each of those into thirds. Also, it's easiest to cut dough with a serrated knife or kitchen shears.


Roll each piece into a ball. 


Stick your finger and thumb through the center of the ball to create a hole. Form the bagel shape from here. *Sorry, I don't have a photo of this b/c I couldn't do it while using the camera at the same time. Some people would rather roll out there dough and then form rings. Do whichever is easiest for you.* They should look like this when you're done:


Drop 4 bagels into the pot of water. Boil for 2 mins.


Flip by pushing on edge of bagel with a plastic spoon and boil for 2mins on the other side. This is what they look like just before you pull them out:


Remove with a slotted spoon to a towel to absorb some of the excess water off the bottoms.*Some people use paper towels but I hate buying them. They are used up quickly when a dish towel would have worked just fine. To me they are often an unnecessary expense but of course use whichever you prefer.


*From here I moved these to a baking sheet and sprinkled the toppings on the bagels but next time I will do it differently*. Dip each bagel into the topping of your choice. Be careful, they are very hot. You can use tongs or a fork to do this. Then transfer to baking sheet, topping side up. 


Repeat steps 9-11 with remaining 8 bagels (two more batches). 

Bake at 450F for about 15-20mins until brown and hollow sounding when tapped. 

*You can see that my excess sugar burned on the cookie sheet. I knew that would happen as soon as I followed the advice to sprinkle toppings on top. Next time dipping the bagels will prevent much of that.* The dark brown on some of my bagels is just cinnamon, they aren't burnt.


Let cool for a few mins but feel free to eat these warm! Here's one I cut into. Very good!

Thursday, July 1, 2010

Tater Tot Casserole

Wow, it's been awhile since I last posted. It's also been awhile since I cooked anything interesting. Or rather, cooked something interesting, that isn't already on here, and that I had time to post. Last night I made some jambalaya but it wasn't all that good. My husband liked it more than I did.

Today, for lunch, I decided to make a tater tot casserole. Having lived in Minnesota for 9 years "hot dishes" are prevalent and unfortunately I usually don't care for them. They come out looking like chunky gray mush. No thanks! But I had some frozen tater tots and I really need to use up the stuff in our freezer since we're moving soon.

I found a recipe on Recipezaar that looked pretty good and I made a few adjustments and out came a REALLY good, flavorful, and colorful casserole. (I'm originally from Chicago and I've aways refused to say "hot dish", haha).

Ok so here is the recipe as I made it and at the bottom I'll include the link to the original recipe which was pulled out of a newspaper in the 1970s!


  • 24ounce package of frozen tater tots (or your preferred frozen potato)
  • seasoned salt, garlic powder, and black pepper
  • 1/2lb browned ground beef
  • 1 small can French's fried onions, divided
  • 1 medium tomato, diced
  • 2 cups chopped steamed broccoli (I boiled for just 2mins and quickly drained and rinsed under cold water)
  • 1/2cup shredded cheddar cheese
  • 1 can cream of mushroom soup (or any cream soup I had a can of cream of chicken I needed to use)
  • 1/2cup milk
  • 1 small can mushroom pieces and stems, drained
  1. Preheat oven to 400F (200C)
  2. Spray a 8x12inch casserole dish with the frozen potatoes and sprinkle with the 3 seasonings, to taste. Bake for 10mins . 
  3. Remove from oven and top with beef, 1/2 of the can onions, tomato, and brocolli. 
  4. Mix the cheese, soup, milk, and mushrooms in a separate bowl and spread over the meat and veggies.
  5. Bake for 20mins, COVERED.
  6. Top with remaining onions, switch to broil for about 90seconds uncovered until onions begin to brown. Be careful not to burn. 
Serve with a salad. Serves 6 well. 

My husband and I both loved this! We will give it to our daughter for dinner tonight. It was too close to nap time to have her eat this for lunch.
http://www.recipezaar.com/recipe/print?id=109181

Saturday, June 12, 2010

Asian Glaze for Pork Medallions


Here is the recipe for the glaze. I think it would be great on any meat. I pulled the recipe from the Betty Crocker New Choices Cookbook. I'll include the cooking technique for the pork at the bottom. This makes quite a bit of sauce. Next time I'll divide it and freeze some for another time. 

The Glaze:
1/2 cup tomato puree. 
2 tbsp lemon juice
1 tbsp rice vinegar or white vinegar (I used brown rice vinegar)
2 tsp grated ginger
2 tsp reduced sodium soy sauce
1 tsp honey (whoops I used 1tbsp and it tasted great)
1/2 tsp cinnamon
1/4 tsp red pepper flakes
1 clove garlic, finely chopped
1/2 cup beef broth
2 tsp cornstarch

Combine everything in small pan through the garlic first. Then add beef broth. Heat until warm. Mix the cornstarch in about a tbsp of the mixture and then mix into sauce. Cook about 2mins or until thickened. 


To make the pork medallions:

Use 1.5 lbs of boneless pork, loin or chops, about 1/2inch thick. Or..whatever you have on hand. Cut into small pieces a few bites each. I had boneless ribs so I cut those and half and used them as is. You could use a meat mallet to flatten these but I was running short on time. They came out great. My husband loved them.


What you'll be doing here is basically broiling the pork for 5-6 mins per side until an internal temp of about 160 is reached. Watch these b/c the temp can FLY pretty quick. If you're at 150 or so just let them hang out on top of the stove and you may be surprised so see them finish cooking on their own. 

I put these on a piece of non-stick foil. Brush the pork with the Asian glaze then broil the first side for about 5 mins, flip and brush the other side and then broil until done. My chunks took a total of about 13mins under the broiler but if you use chops it won't take nearly as long.
This is how they looked when they were done.

I served them with asparagus and rice. I have half my meal in the fridge. It's pretty filling.

Six Servings, 180 calories each

Saturday, June 5, 2010

Flat Bread Veggie Pizza

Last night my husband had a guy's night out. There were several commercials for Papa John's (my favorite fast-food type pizza place in Minnesota). I knew that would be expensive and incredibly unhealthy so I went a different route.

Aldi's "Fit n' Active" brand sells multi-grain flat bread. Each piece is only 100 calories. Not bad.

I cranked up the heat to 370F and sprayed both sides of the bread with non-stick spray. I baked them for 5mins and then took them out to add the toppings. These directions are all on the package. You think I could be creative every now and then but...might as well go with tried and true.


After the pre-bake I added my toppings. I didn't show this off too well but here they are cut up and waiting. 

I used tomato, red pepper, sweet onion, spinach, mushrooms, pasta sauce, and fat free shredded cheese. My intention was to use just 1/4cup cheese on each on but they really need a full 1/2 cup. I also added a sprinkle of Parmesan cheese and some Italian seasoning on each of the pizzas.

The directions on the Fit n' Active package suggest I baked these for another 8-10mins or until the cheese melted. The cheese melted in 3mins. Even if I had a half cup of cheese I don't think they would need 8-10mins. 

The finished product.

Pretty good!

Thursday, June 3, 2010

Veggie Pancakes

This is a recipe my friend Katy just gave me. I've tweaked it (of course). She found the recipe in a baby food book but it is really a great recipe to use for children of all ages (or even adults). The original recipe calls for only carrots and onions. I added zucchini and in the future I will add other veggies (such as broccoli and mushrooms) and I will use Parmesan cheese instead of cheddar or mozzarella (which I used this time around). When I use Parmesan I would use less as it has a stronger flavor. Any leftover fresh veggies would be great for this recipe.

This is a great kid-friendly food. I am sure my daughter will love these eventually and in a few years it will be a great recipe to have her "help" make.

  • 1 cup bread crumbs
  • 1 egg, yolk and white separated
  • 1 tbsp butter
  • 1 medium onion, finely chopped
  • 3 medium carrots, shredded
  • 1 small zucchini 
  • 3 ounces shredded cheese

I started with shredding 3 carrots and 1 small zucchini. I also went ahead and shredded half a red onion. I figured it would work fine for this purpose and it did!

Sauté the onion and carrot in the butter, remove from heat. I didn't sauté the zucchini b/c it's already so soft I didn't think it needed to be softened. 


I put the zucchini, yolk, cheese, and about 1/2 a cup of bread crumbs into a bowl. I added my sautéed veggies. 

Then I shaped the mix into pancakes a bit smaller than the palm of my hand. I dipped them in the egg yolk and then the bread crumbs and then fried them in a pan sprayed with non-stick spray. I'm sorry I don't have photos of this process but my hands were pretty messy!

I fit about 4 pancakes in my 7'' pan and while I was waiting for some to finish up I taste tested. Pretty good! Easy to handle and fun finger food for children.

My finished product.


My husband loved these. They kept well in the fridge although I might reheat them in the oven, toaster oven, or frying pan. 

This recipe will certainly be used in the future. My husband loved them. My daughter refused them and insisted we remove the pancake from her plate before she would eat anything else. She's a great eater but only 16 months old and these do look very new to her. 

Wednesday, June 2, 2010

Go-to Chili

We've had a lot of boring sandwich type of dinners for dinner lately. We've been pretty busy. Last night I had a Boca Burger.

Tonight Andy made dinner from a recipe/workout/nutrition planning type of book he has. It's our go-to chili recipe and makes a very fresh recipe cooked quickly over the stove.


  • 1/2 lb ground beef, browned and rinsed
  • 1 green pepper, diced
  • 1 small onion diced
  • 1 tsp jalapeño, de-seeded, finely diced
  • 1 can black beans, drained and well rinsed
  • 1 can red beans, drained and well rinsed
  • 1 can diced tomatoes, not drained
  • 2 tbsp chili powder
  • 1 tbsp cumin  

  1. Cook the jalapeno, green pepper, and onion in a pan sprayed with nonstick spray until soft.
  2. Add remaining ingredients, stir, and cook until heated through. About 20mins. 
A serving is 1 cup and 255 calories. 

Sunday, May 30, 2010

Dinner Tonight: Quick and Easy

We had a busy day today. After church we headed to visit some friends of course. We got home late so dinner was tuna sandwiches, soup, and carrots. Nothing exciting and no need for recipes.

One great thing to mention...Andrew found the power cord to our camera today! Woohoo! In the future there will be better photos!