Sunday, February 13, 2011

Coconut Macaroons

I merged this recipe from several I found online. It's not hard to find a good macaroon recipe. These are VERY easy and I made them tonight b/c I needed something sweet in a BAD WAY. At 31 weeks pregnant I couldn't resist.

4 cups coconut
1 can sweetened condensed milk (not evaporated)
1/3 cup flour
1 tsp Almond extract (or vanilla but almond is much tastier)

1/2 cup chocolate chips (optional)
Parchment paper or waxed paper if available


  • Preheat oven to 325F.
  • Combine milk and almond extract. 
  • Add flour and mix to combine.
  • Fold in coconut. 
  • Drop by rounded teaspoonful (I use a small cookie dough scooper) onto baking sheet lined with parchment paper. 
  • Bake 10-15mins until edges and top are lightly brown. 
  • If desired turn on broiler to toast the tops. If you use the broiler do not take your eyes off the cookies. I stood with the oven cracked and watched them brown. 
  • Remove from oven. 
  • Melt chocolate chips and drizzle over macaroons. Use a zip lock with the corner cut to make this easier. I was out of bags and impatient so I just put a little circle of chocolate on top of each cookie. 

Monday, January 17, 2011

Cereal Bars

A pretty good basic recipe to make Rice Krispee treats or cereal bars using other cereals. Today I used Cheerios.

5-6cups dry cereal. (I like to use rice krispees or Cheerios).
3 tablespoons butter
1 10 ounce package marshmallows
1 tsp vanilla
1/2 cup peanut butter
1 cup chocolate chips (or another flavor such as peanut butter)

1. Melt butter over low heat.
2. Add marshmallows and stir until melted.
3. Stir in vanilla and peanut butter until incorporated.
4. Stir in cereal.
5. Mix in chips.
6. Press into a greased 9x13 in pan and let cool. Cut into squares to serve.

Not exactly gourmet food but the kids sure love them! So do the grown ups :D

Tuesday, December 14, 2010

Peanut Butter Kiss cookies

Ok this one is really easy. You can find this recipe anywhere. But just in case you want to know MY thoughts....which few do...well here, ya go.

For each batch:
1/3 cup white sugar
1/3 cup brown sugar
1/3 cup powdered sugar
1 egg
1 cup peanut butter
18 Hershey's Kisses (actually, I'd figure closer to 23)

Preheat oven to 350F. Mix sugars, egg, and peanut butter. Roll into one inch balls (maybe my balls were small, I didn't actually measure), and bake on a cookie sheet for 10mins.

When they come out of the oven, stick a Kiss in the center of each cookie, let them cool, and then remove from the sheet.


Other thoughts:
I made  a triple batch so...a cup of each sugar, 3 eggs, 3 cups pb (which was just about a 28ounce jar), and supposedly a bag of Hershey's kisses would have been more than enough. But It wasn't I had about ten without kisses. So sad. So tasty. So delicious.

While the cookies are baking unwrap the Kisses. Supposedly you can buy these without the wrappers but I was not about to go on a while goose chase for such a thing. The time driving and the increase in cost per bag. So just be smart and unwrap them ahead of time!

 I used Kisses with meltaway centers. I knew there would be consequences but it just sounded too good to pass up. I stuck the cookies in the fridge and let them sit there an hour before I touched them. If I had unwrapped the first batch ahead of time they might be standing a little taller but really they look fine and taste GOOD.

After I was done I saw a recipe on the back of the package to make brownie bites with meltaway Kisses. The instructions were to put the Kisses in the freezer before making the dough. Now THAT would have been smart!

There's a world of possibilities out there. Some people use crunchy peanut butter. I'd like to make chocolate cookies and put mint kisses in the center... Mmmm.

Really simple, good for kids to make, and a holiday favorite in many homes.

Sunday, December 5, 2010

Slow Cooker Thai Chicken and Coconut Rice

Here's a meal my mom makes that my husband and I love. I made it for my husband and our sister-in-law last night and it was a big hit. Everything was GONE!


Slow Cooker Thai Chicken
Lay frozen chicken breasts (1-2lbs) at the bottom of a crock pot. If they aren't frozen that's fine but it's always nice to have a recipe that doesn't require defrosting. 

In a bowl mix: 
  • 3/4 cup salsa. Use whichever one you like.
  • 1/4 cup peanut butter.
  • 2 tbs lime juice
  • 1 tbs soy sauce
  • 1 tsp grated ginger 
Mix together and pour over chicken. Cook on low or high or a high/low combo to make it's done for your dinner time. Gosh, I love not worrying about exact measurements but in case you don't... Approx times are: On low about 6-8hrs, on high 4-5 hrs, or on high for an hr and then low for 2-3. 

When it's done top with 1/4 cup chopped peanuts and chopped green onions. I skipped this last night and it was still tasty. 

*You can make this in a casserole dish in the oven. Bake at 350F for about an hour. I haven't made it this way yet so (as ALWAYS) make sure to check the temp of the chicken before serving!


Coconut Rice (two cooking methods)
This is my absolute favorite rice. I could eat it everyday. Easily doubles/triples. I only fed three adults but I wish I had made a double batch. For a double batch just double all ingredients; no special instructions. 

In a rice cooker combine 1 1/4 cups chicken broth, 1 1/2 tsp grated ginger, 1/3 cup coconut milk (reg or light but NOT cream of coconut). Stir in 3/4 cup white rice. Turn on rice cooker. When done top with 1/2 tsp grated lime zest, 2 medium green onions, chopped, and 2tbs toasted coconut. 

OR

Bring 1 1/4 cups chicken broth, 1 1/2 tsp grated ginger, and 1/3 cup coconut milk to a boil. Stir in 3/4cup rice. Bring back to boil then reduce heat. Cover and simmer 15mins or until rice is tender and liquid is absorbed. Remove from heat and top with 1/4tsp grated lime peel and 2 medium green onions chopped. Garnish with 2 tbs toasted coconut.

*To toast coconut: Spread coconut evenly on ungreased cookie sheet and bake at 350F for 5-7mins, stirring occasionally, until golden brown. You can make a large batch and store in a air tight container or zip lock for several months. 

Stir Fry Broccoli
I only add this b/c it uses left over ingredients from the chicken and it was also GONE. A can of chicken broth is about 2 cups so I simply dumped a bag of frozen broccoli, the remaining chicken broth, a good tbs or two of soy sauce, and a sprinkle of garlic powder into a stir fry pan and cooked until the broccoli was heated through and the sauce boiled off. It was really very flavorful and delicious! 

Note about the coconut milk: The recipe uses only 1/3cup coconut milk. I measured the remaining milk into 1/3 portions and froze in freezer bags. Coconut milk is about $1-$2 per can but makes several recipes. I may use the leftover for our favorite curry chicken :)

Note about fresh ginger: You can freeze the whole root and then just grate what you need each time! Lasts a LONG time and really a very cheap ingredient. Don't be afraid to break off a piece at the grocery store since it tends to be sold in very large portions (as it grows).

No pictures on these yet...Sorry but it went too fast!


Saturday, July 3, 2010

Homemade Bagels


Last night I found a recipe for Easy homemade Bagels. I was intrigued and excited to try it out. After reading other recipes and watching a few videos I felt like the Easy Bagel recipe was missing a few things. It's a Recipezaar recipe with no ratings and at least one missed ingredient. It says to add salt but there is no measurement for the salt. So...I took part of the Easy Bagel recipe, part of about 3 videos, one how-to article from Allrecipes.com and a few other recipes and made my own. After tasting them I would say I added too much salt and I would change my method for adding toppings to the bagels in the future.  But it was fun, not very difficult at all, and cost me ...maybe a buck? Not more than $2.

Here's what I did.

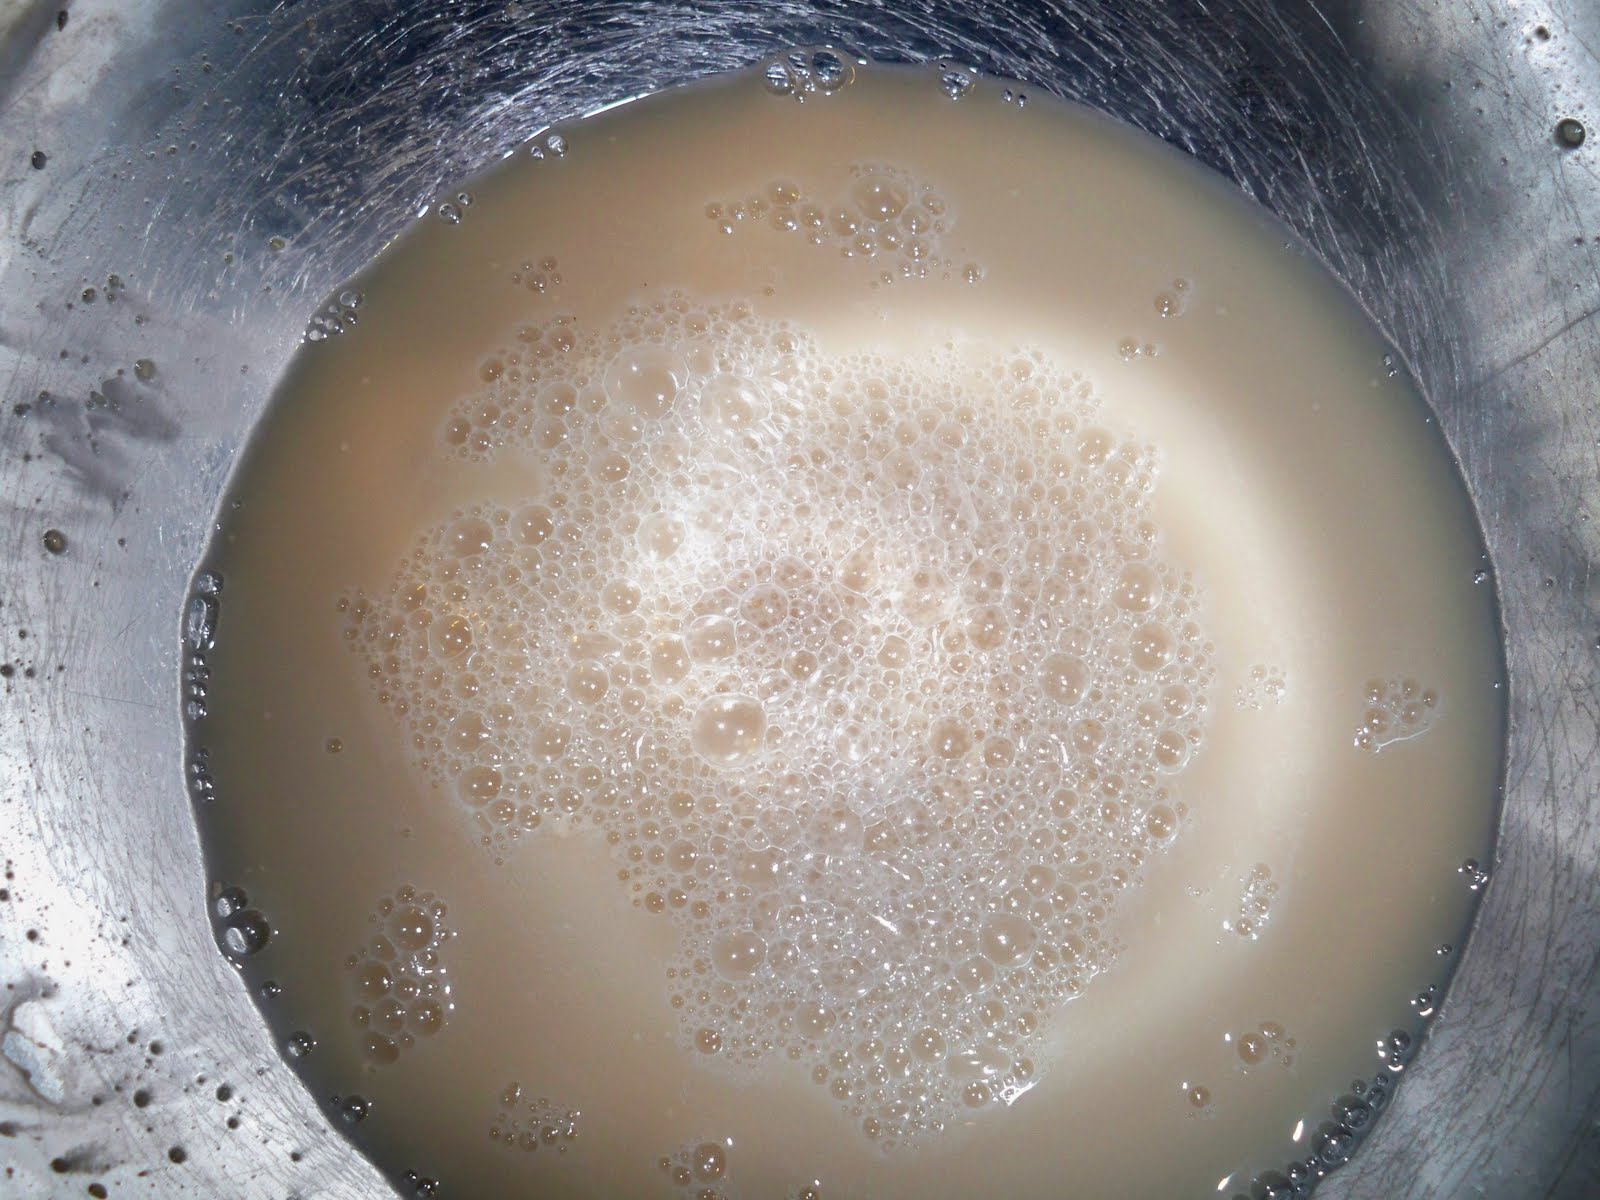
Dissolve a tbsp of brown sugar into 1.5 cups of lukewarm water. Sprinkle 1 tbsp of yeast on top of the water. Let it sit that way about 5mins. Hint: If you freeze your yeast you should let it sit out about 10mins to get to room temperature before using it.


Then whisk. Add 1 tbsp vegetable oil and 1/2 tbsp salt. 


Mix 4cups flour into yeast mixture one cup at a time. Dump onto counter to incorporate up to one more cup of flour until dough is ready. (A total of 4-5cups flour). Hint: As you kneed push more flour to the sides of the dough and keep folding and pushing until you get the desired consistency.


 It shouldn't be very sticky and when pulled it shouldn't easily tear. Here's what it will look like, notice most of the last cup of flour has incorporated into the dough:


Cover with a towel and let dough rise about 40mins. 

Towards the end of your rest time prepare to continue: Preheat oven to 450F. Bring a large pot (I used a stock pot) of water to a boil on the stove. Set out bowls of whatever toppings you would like to use. I used Kosher salt on half and cinnamon sugar on half. Prepare a baking sheet by sprinkling it with corn meal.


Punch air out of dough. Punch down and kneed about 8-10times. 


Divide dough into 12 pieces about the same size. Hint: Best way to do this is to divide the dough in half twice creating 4 equal pieces and then divide each of those into thirds. Also, it's easiest to cut dough with a serrated knife or kitchen shears.


Roll each piece into a ball. 


Stick your finger and thumb through the center of the ball to create a hole. Form the bagel shape from here. *Sorry, I don't have a photo of this b/c I couldn't do it while using the camera at the same time. Some people would rather roll out there dough and then form rings. Do whichever is easiest for you.* They should look like this when you're done:


Drop 4 bagels into the pot of water. Boil for 2 mins.


Flip by pushing on edge of bagel with a plastic spoon and boil for 2mins on the other side. This is what they look like just before you pull them out:


Remove with a slotted spoon to a towel to absorb some of the excess water off the bottoms.*Some people use paper towels but I hate buying them. They are used up quickly when a dish towel would have worked just fine. To me they are often an unnecessary expense but of course use whichever you prefer.


*From here I moved these to a baking sheet and sprinkled the toppings on the bagels but next time I will do it differently*. Dip each bagel into the topping of your choice. Be careful, they are very hot. You can use tongs or a fork to do this. Then transfer to baking sheet, topping side up. 


Repeat steps 9-11 with remaining 8 bagels (two more batches). 

Bake at 450F for about 15-20mins until brown and hollow sounding when tapped. 

*You can see that my excess sugar burned on the cookie sheet. I knew that would happen as soon as I followed the advice to sprinkle toppings on top. Next time dipping the bagels will prevent much of that.* The dark brown on some of my bagels is just cinnamon, they aren't burnt.


Let cool for a few mins but feel free to eat these warm! Here's one I cut into. Very good!

Thursday, July 1, 2010

Tater Tot Casserole

Wow, it's been awhile since I last posted. It's also been awhile since I cooked anything interesting. Or rather, cooked something interesting, that isn't already on here, and that I had time to post. Last night I made some jambalaya but it wasn't all that good. My husband liked it more than I did.

Today, for lunch, I decided to make a tater tot casserole. Having lived in Minnesota for 9 years "hot dishes" are prevalent and unfortunately I usually don't care for them. They come out looking like chunky gray mush. No thanks! But I had some frozen tater tots and I really need to use up the stuff in our freezer since we're moving soon.

I found a recipe on Recipezaar that looked pretty good and I made a few adjustments and out came a REALLY good, flavorful, and colorful casserole. (I'm originally from Chicago and I've aways refused to say "hot dish", haha).

Ok so here is the recipe as I made it and at the bottom I'll include the link to the original recipe which was pulled out of a newspaper in the 1970s!


  • 24ounce package of frozen tater tots (or your preferred frozen potato)
  • seasoned salt, garlic powder, and black pepper
  • 1/2lb browned ground beef
  • 1 small can French's fried onions, divided
  • 1 medium tomato, diced
  • 2 cups chopped steamed broccoli (I boiled for just 2mins and quickly drained and rinsed under cold water)
  • 1/2cup shredded cheddar cheese
  • 1 can cream of mushroom soup (or any cream soup I had a can of cream of chicken I needed to use)
  • 1/2cup milk
  • 1 small can mushroom pieces and stems, drained
  1. Preheat oven to 400F (200C)
  2. Spray a 8x12inch casserole dish with the frozen potatoes and sprinkle with the 3 seasonings, to taste. Bake for 10mins . 
  3. Remove from oven and top with beef, 1/2 of the can onions, tomato, and brocolli. 
  4. Mix the cheese, soup, milk, and mushrooms in a separate bowl and spread over the meat and veggies.
  5. Bake for 20mins, COVERED.
  6. Top with remaining onions, switch to broil for about 90seconds uncovered until onions begin to brown. Be careful not to burn. 
Serve with a salad. Serves 6 well. 

My husband and I both loved this! We will give it to our daughter for dinner tonight. It was too close to nap time to have her eat this for lunch.
http://www.recipezaar.com/recipe/print?id=109181

Saturday, June 12, 2010

Asian Glaze for Pork Medallions


Here is the recipe for the glaze. I think it would be great on any meat. I pulled the recipe from the Betty Crocker New Choices Cookbook. I'll include the cooking technique for the pork at the bottom. This makes quite a bit of sauce. Next time I'll divide it and freeze some for another time. 

The Glaze:
1/2 cup tomato puree. 
2 tbsp lemon juice
1 tbsp rice vinegar or white vinegar (I used brown rice vinegar)
2 tsp grated ginger
2 tsp reduced sodium soy sauce
1 tsp honey (whoops I used 1tbsp and it tasted great)
1/2 tsp cinnamon
1/4 tsp red pepper flakes
1 clove garlic, finely chopped
1/2 cup beef broth
2 tsp cornstarch

Combine everything in small pan through the garlic first. Then add beef broth. Heat until warm. Mix the cornstarch in about a tbsp of the mixture and then mix into sauce. Cook about 2mins or until thickened. 


To make the pork medallions:

Use 1.5 lbs of boneless pork, loin or chops, about 1/2inch thick. Or..whatever you have on hand. Cut into small pieces a few bites each. I had boneless ribs so I cut those and half and used them as is. You could use a meat mallet to flatten these but I was running short on time. They came out great. My husband loved them.


What you'll be doing here is basically broiling the pork for 5-6 mins per side until an internal temp of about 160 is reached. Watch these b/c the temp can FLY pretty quick. If you're at 150 or so just let them hang out on top of the stove and you may be surprised so see them finish cooking on their own. 

I put these on a piece of non-stick foil. Brush the pork with the Asian glaze then broil the first side for about 5 mins, flip and brush the other side and then broil until done. My chunks took a total of about 13mins under the broiler but if you use chops it won't take nearly as long.
This is how they looked when they were done.

I served them with asparagus and rice. I have half my meal in the fridge. It's pretty filling.

Six Servings, 180 calories each