Last night I found a recipe for Easy homemade Bagels. I was intrigued and excited to try it out. After reading other recipes and watching a few videos I felt like the Easy Bagel recipe was missing a few things. It's a Recipezaar recipe with no ratings and at least one missed ingredient. It says to add salt but there is no measurement for the salt. So...I took part of the Easy Bagel recipe, part of about 3 videos, one how-to article from Allrecipes.com and a few other recipes and made my own. After tasting them I would say I added too much salt and I would change my method for adding toppings to the bagels in the future. But it was fun, not very difficult at all, and cost me ...maybe a buck? Not more than $2.
Here's what I did.
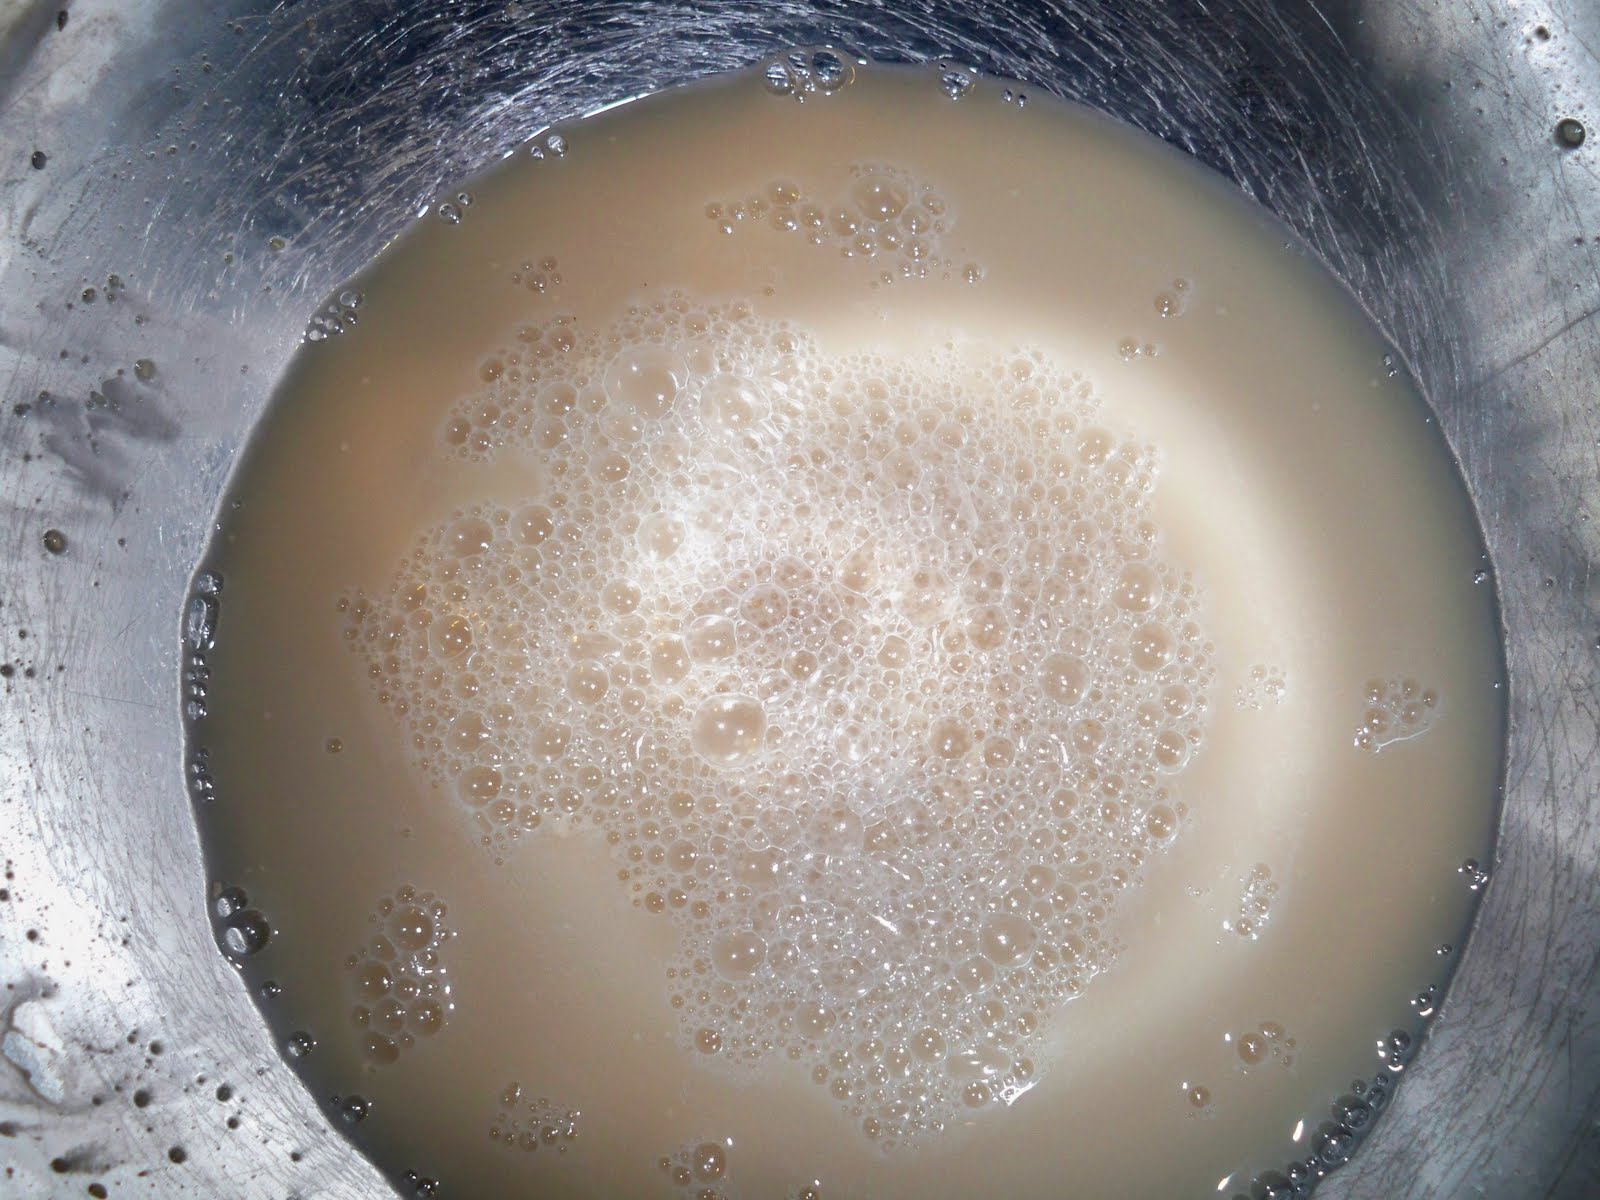
Dissolve a tbsp of brown sugar into 1.5 cups of lukewarm water. Sprinkle 1 tbsp of yeast on top of the water. Let it sit that way about 5mins. Hint: If you freeze your yeast you should let it sit out about 10mins to get to room temperature before using it.

Mix 4cups flour into yeast mixture one cup at a time. Dump onto counter to incorporate up to one more cup of flour until dough is ready. (A total of 4-5cups flour). Hint: As you kneed push more flour to the sides of the dough and keep folding and pushing until you get the desired consistency.

It shouldn't be very sticky and when pulled it shouldn't easily tear. Here's what it will look like, notice most of the last cup of flour has incorporated into the dough:

Towards the end of your rest time prepare to continue: Preheat oven to 450F. Bring a large pot (I used a stock pot) of water to a boil on the stove. Set out bowls of whatever toppings you would like to use. I used Kosher salt on half and cinnamon sugar on half. Prepare a baking sheet by sprinkling it with corn meal.


Divide dough into 12 pieces about the same size. Hint: Best way to do this is to divide the dough in half twice creating 4 equal pieces and then divide each of those into thirds. Also, it's easiest to cut dough with a serrated knife or kitchen shears.

Roll each piece into a ball.

Stick your finger and thumb through the center of the ball to create a hole. Form the bagel shape from here. *Sorry, I don't have a photo of this b/c I couldn't do it while using the camera at the same time. Some people would rather roll out there dough and then form rings. Do whichever is easiest for you.* They should look like this when you're done:

Drop 4 bagels into the pot of water. Boil for 2 mins.

Flip by pushing on edge of bagel with a plastic spoon and boil for 2mins on the other side. This is what they look like just before you pull them out:

Remove with a slotted spoon to a towel to absorb some of the excess water off the bottoms.*Some people use paper towels but I hate buying them. They are used up quickly when a dish towel would have worked just fine. To me they are often an unnecessary expense but of course use whichever you prefer.

*From here I moved these to a baking sheet and sprinkled the toppings on the bagels but next time I will do it differently*. Dip each bagel into the topping of your choice. Be careful, they are very hot. You can use tongs or a fork to do this. Then transfer to baking sheet, topping side up.

Repeat steps 9-11 with remaining 8 bagels (two more batches).
Bake at 450F for about 15-20mins until brown and hollow sounding when tapped.
*You can see that my excess sugar burned on the cookie sheet. I knew that would happen as soon as I followed the advice to sprinkle toppings on top. Next time dipping the bagels will prevent much of that.* The dark brown on some of my bagels is just cinnamon, they aren't burnt.

Let cool for a few mins but feel free to eat these warm! Here's one I cut into. Very good!
